~  /  rv12is  /  build  /  empennage  /  tailcone-priming-riveting

Tailcone priming & riveting

Shelby almost laps me on hours, and the priming finally clicks.

JUN 14 2026 · 189 words · ~1 min read · rv12isempennageprimingriveting

Another 23 hours combined this weekend (8 for me, 15 for Shelby). She almost lapped me in hours with all the deburring.

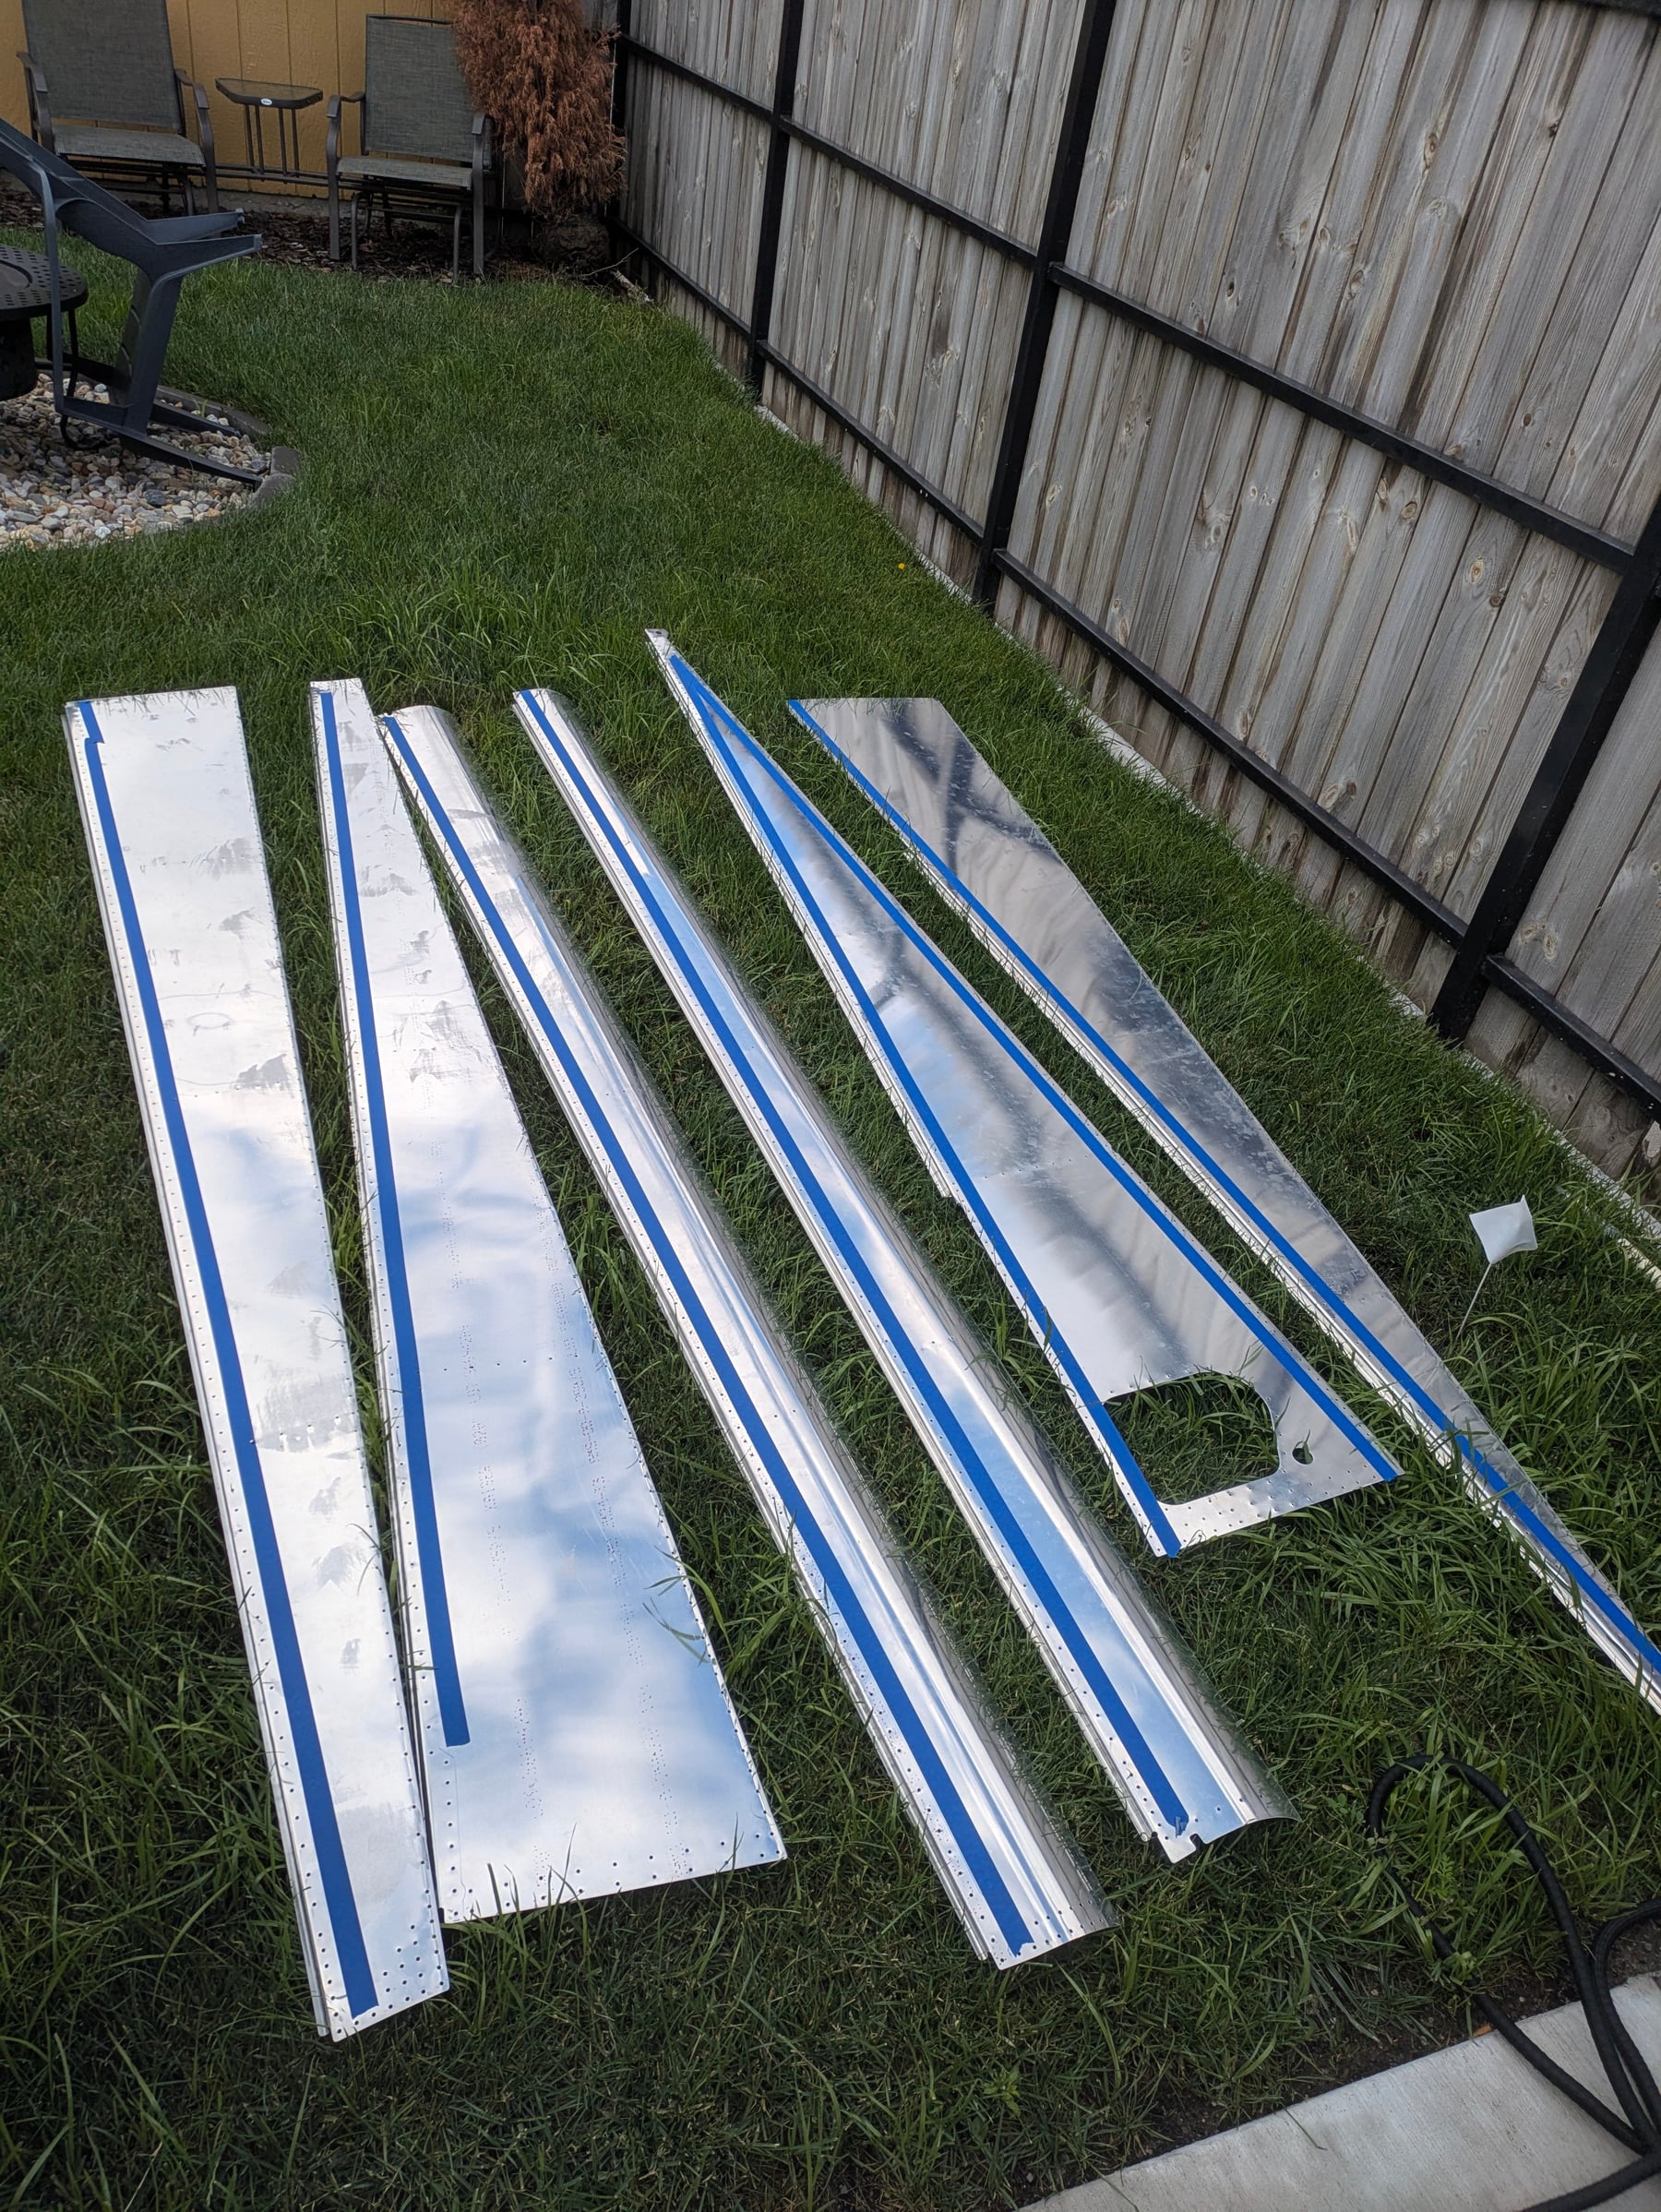
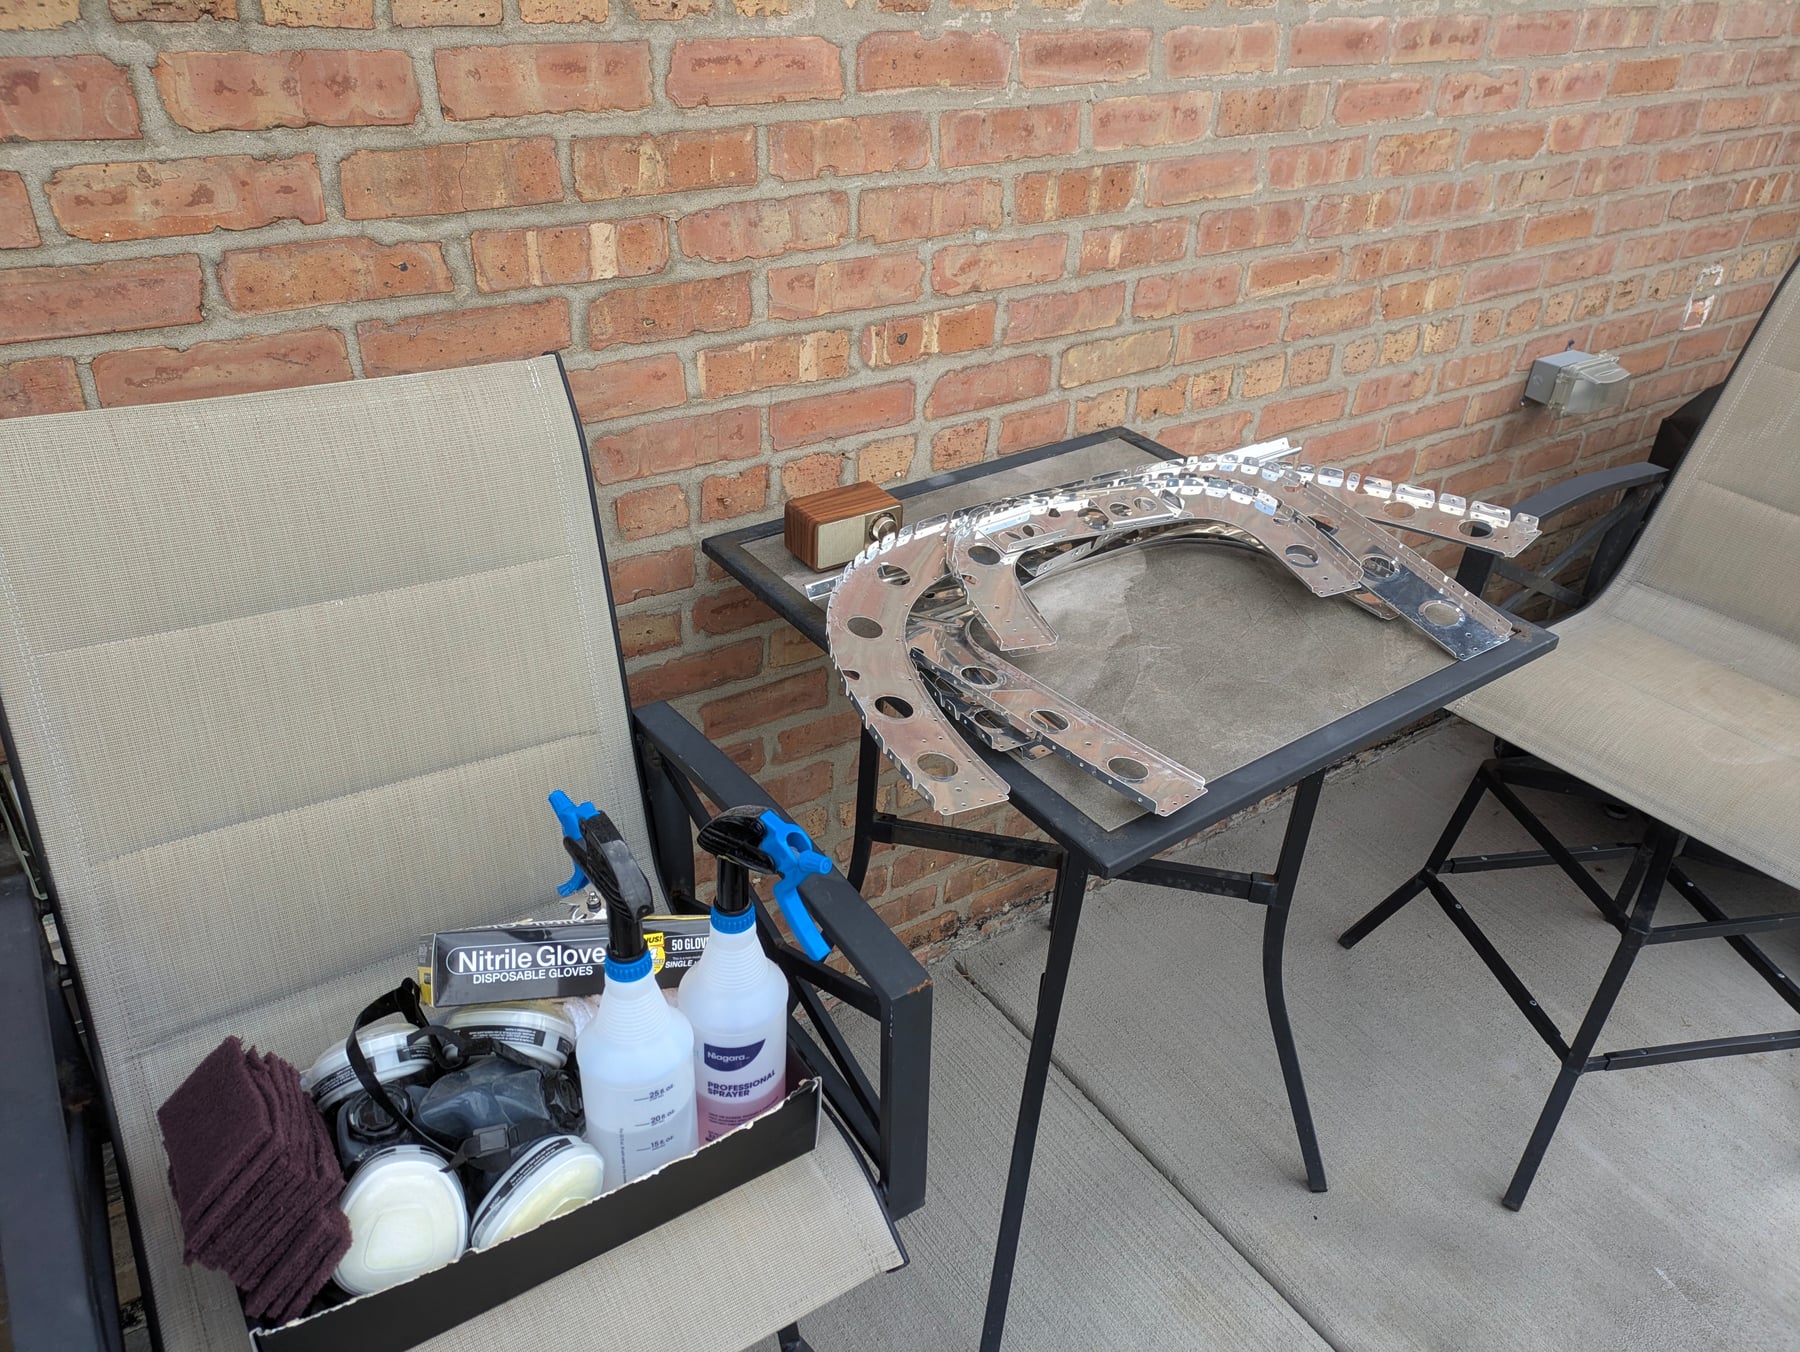
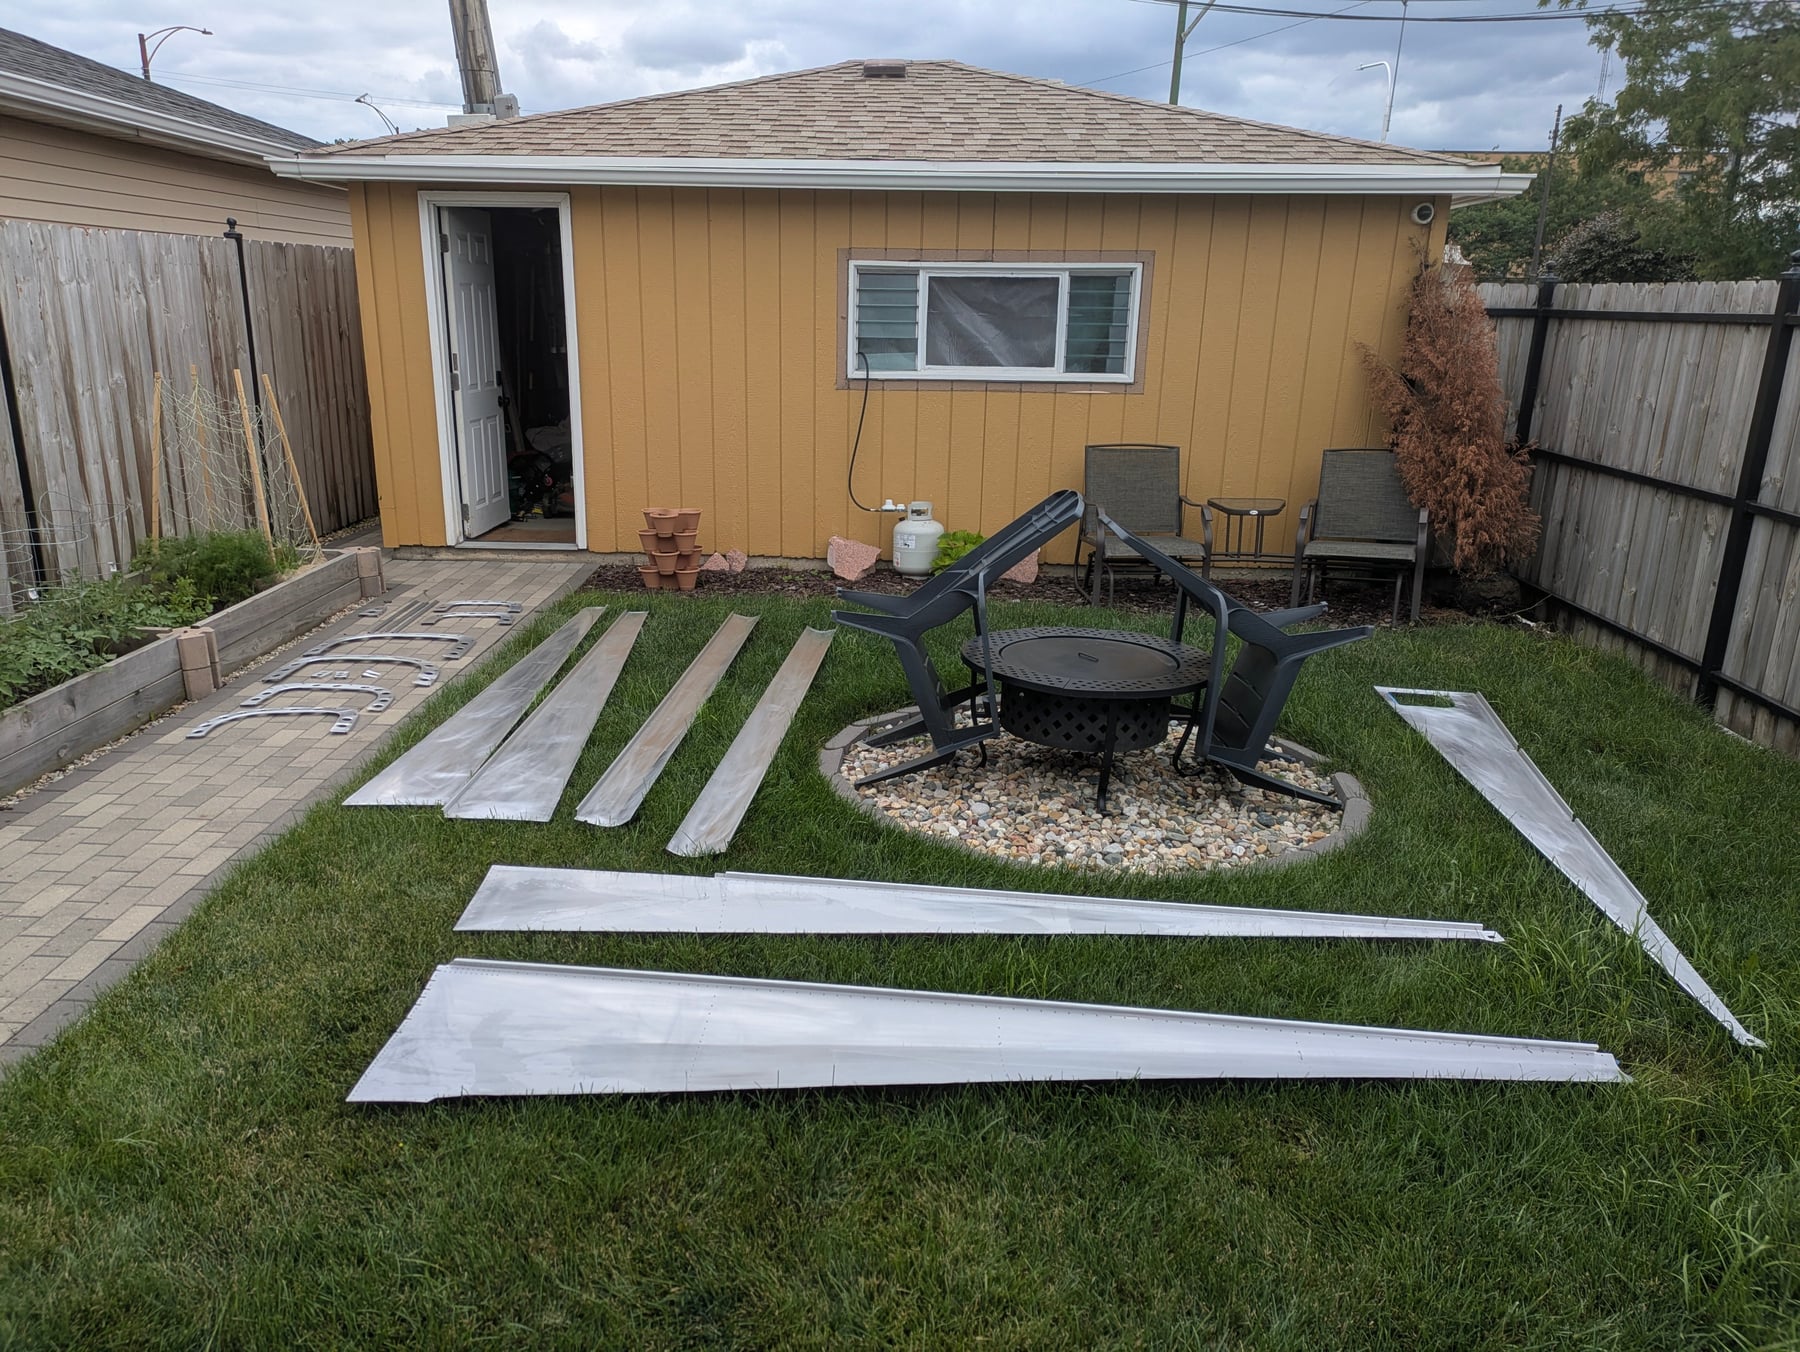
Deburring, cleaning, etching, priming

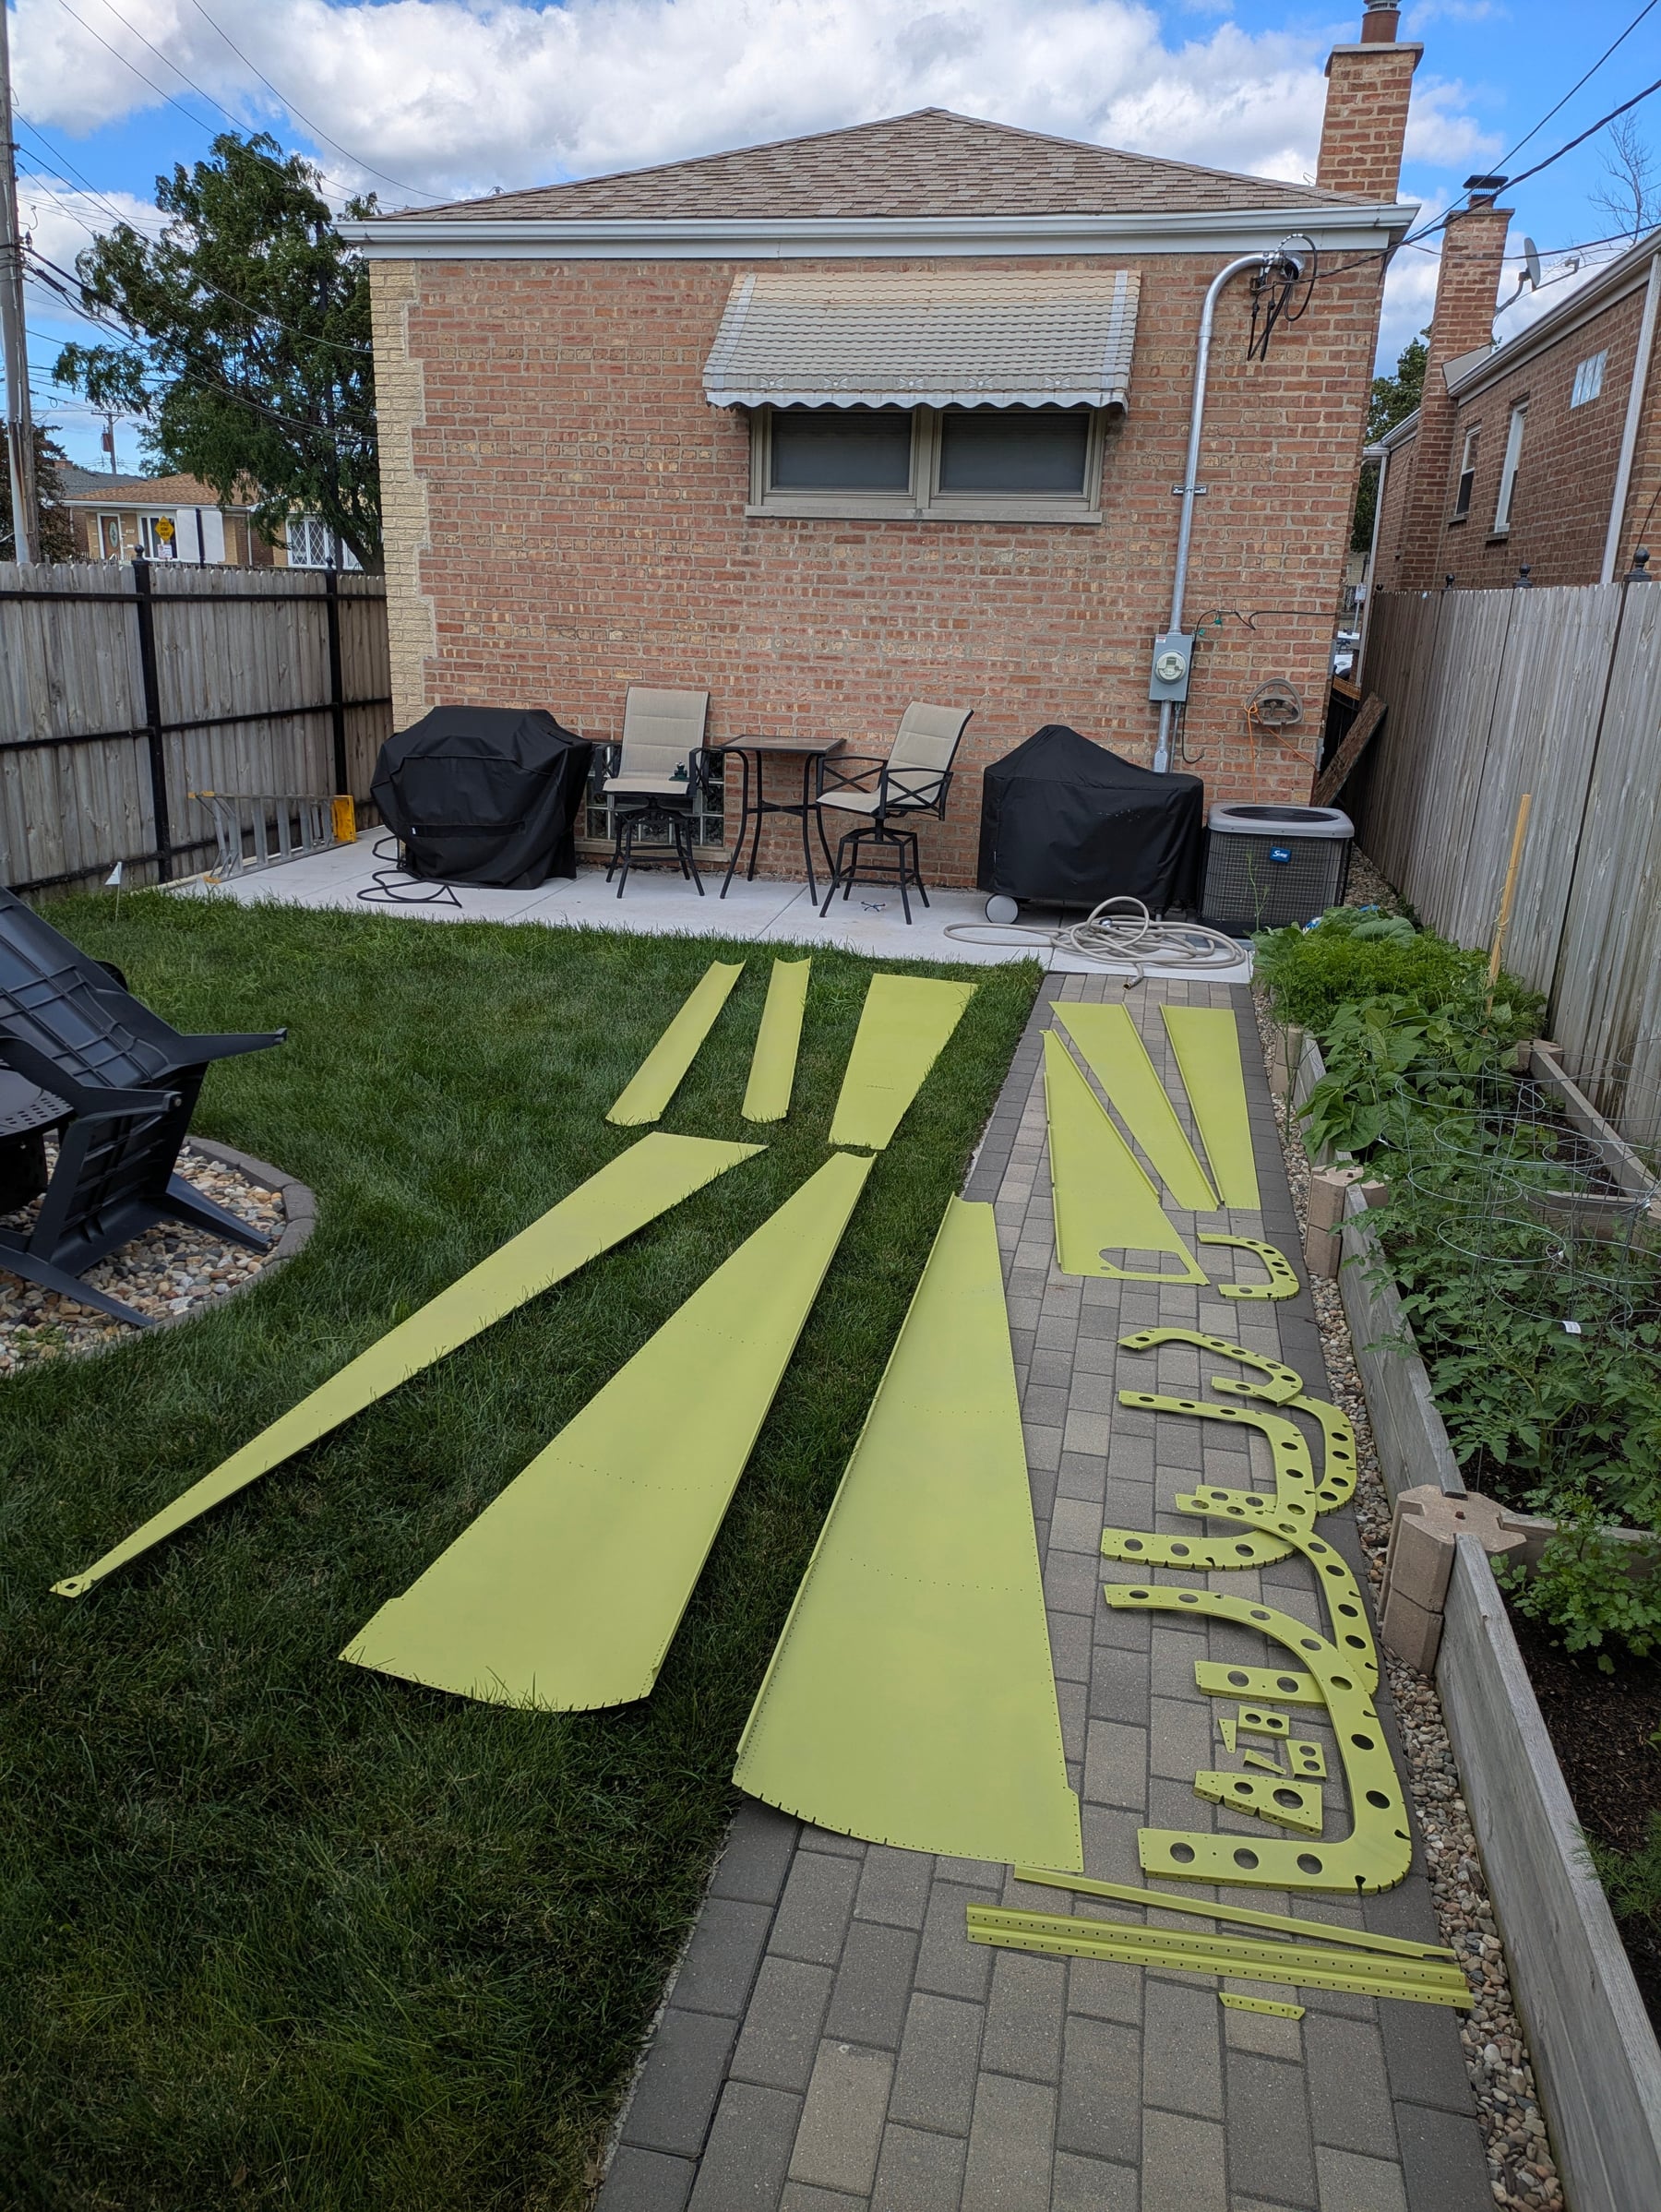
We finished deburring all the tailcone pieces, brought them outside, cleaned and etched them, then primed. I did a lot better with the priming this time: less than 400g of primer for all of the tailcone pieces, and probably 100g of that was lost to overspray and dialing in the nozzle. So roughly 300g actually on the parts. Definitely a better rate than the empennage sub-assemblies.

Riveting

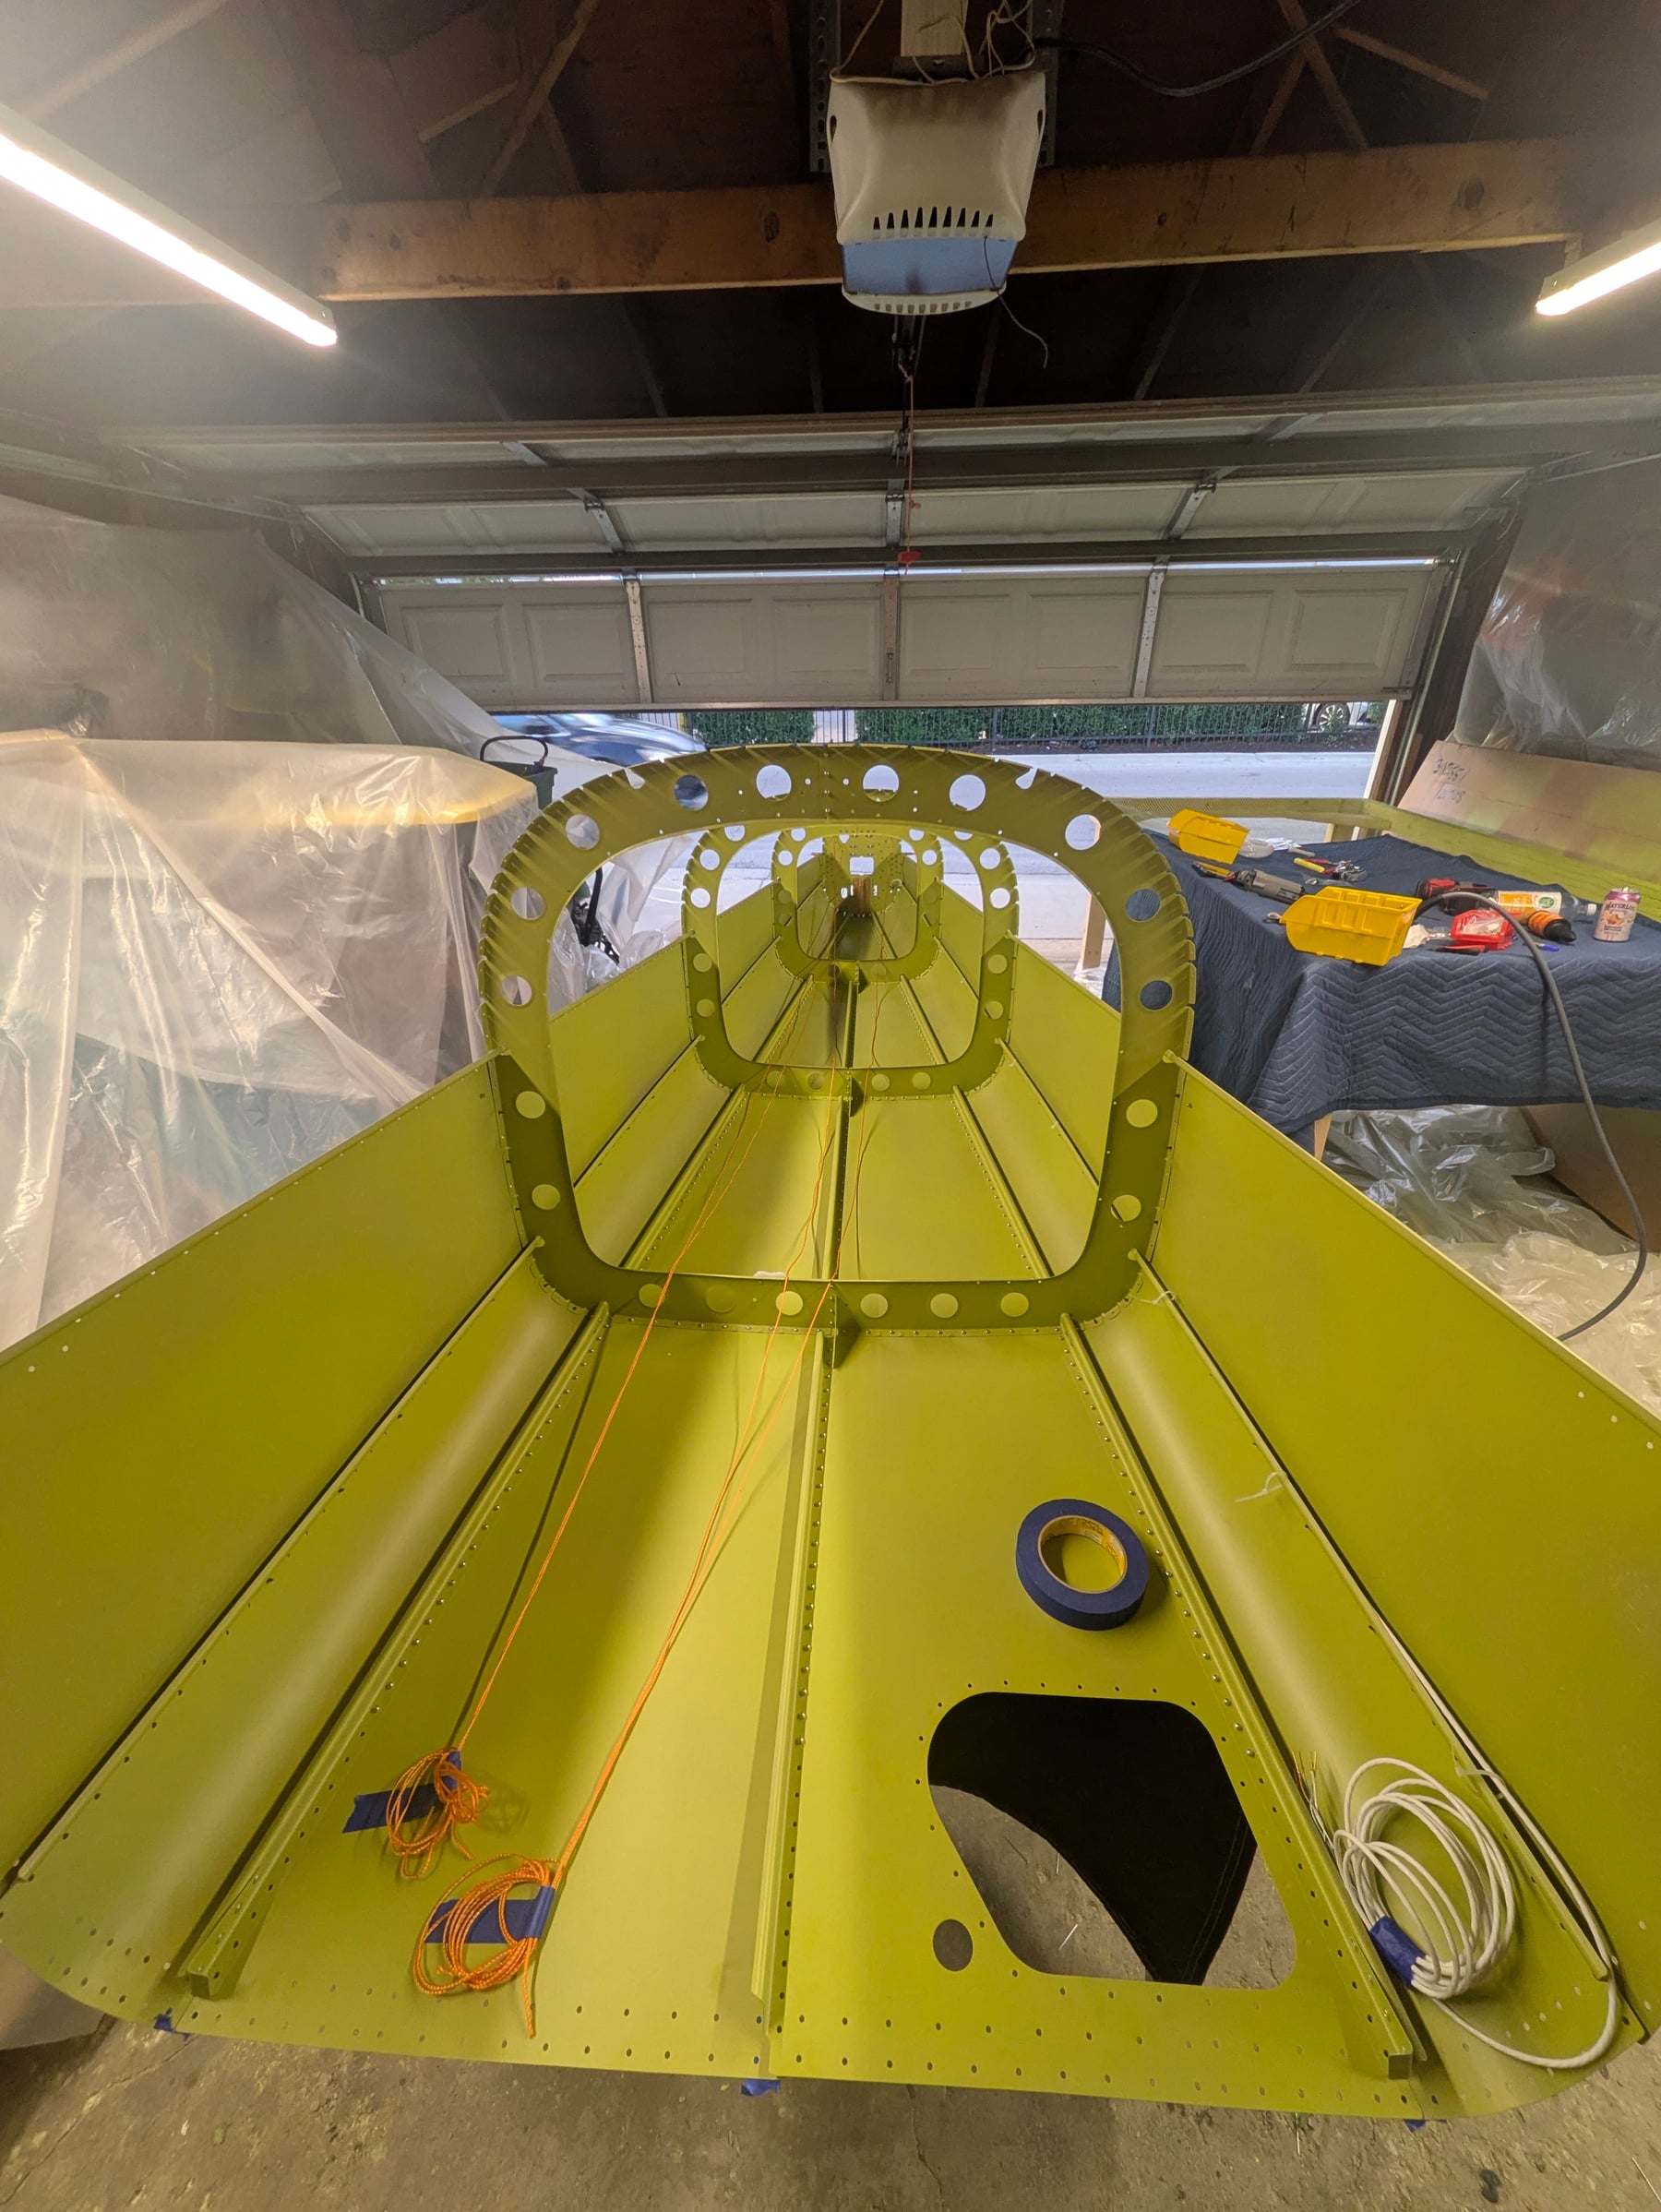
Then we started riveting the tailcone together. It's going quickly now that we've found a good process. We stopped right before installing the static system since I need to find some RTV sealant. Good progress this weekend — more during the week.

Photos

Everything ready for cleaning and etching.

The outdoor cleaning station.

Everything cleaned and etched.

Everything primed.
Everything primed.

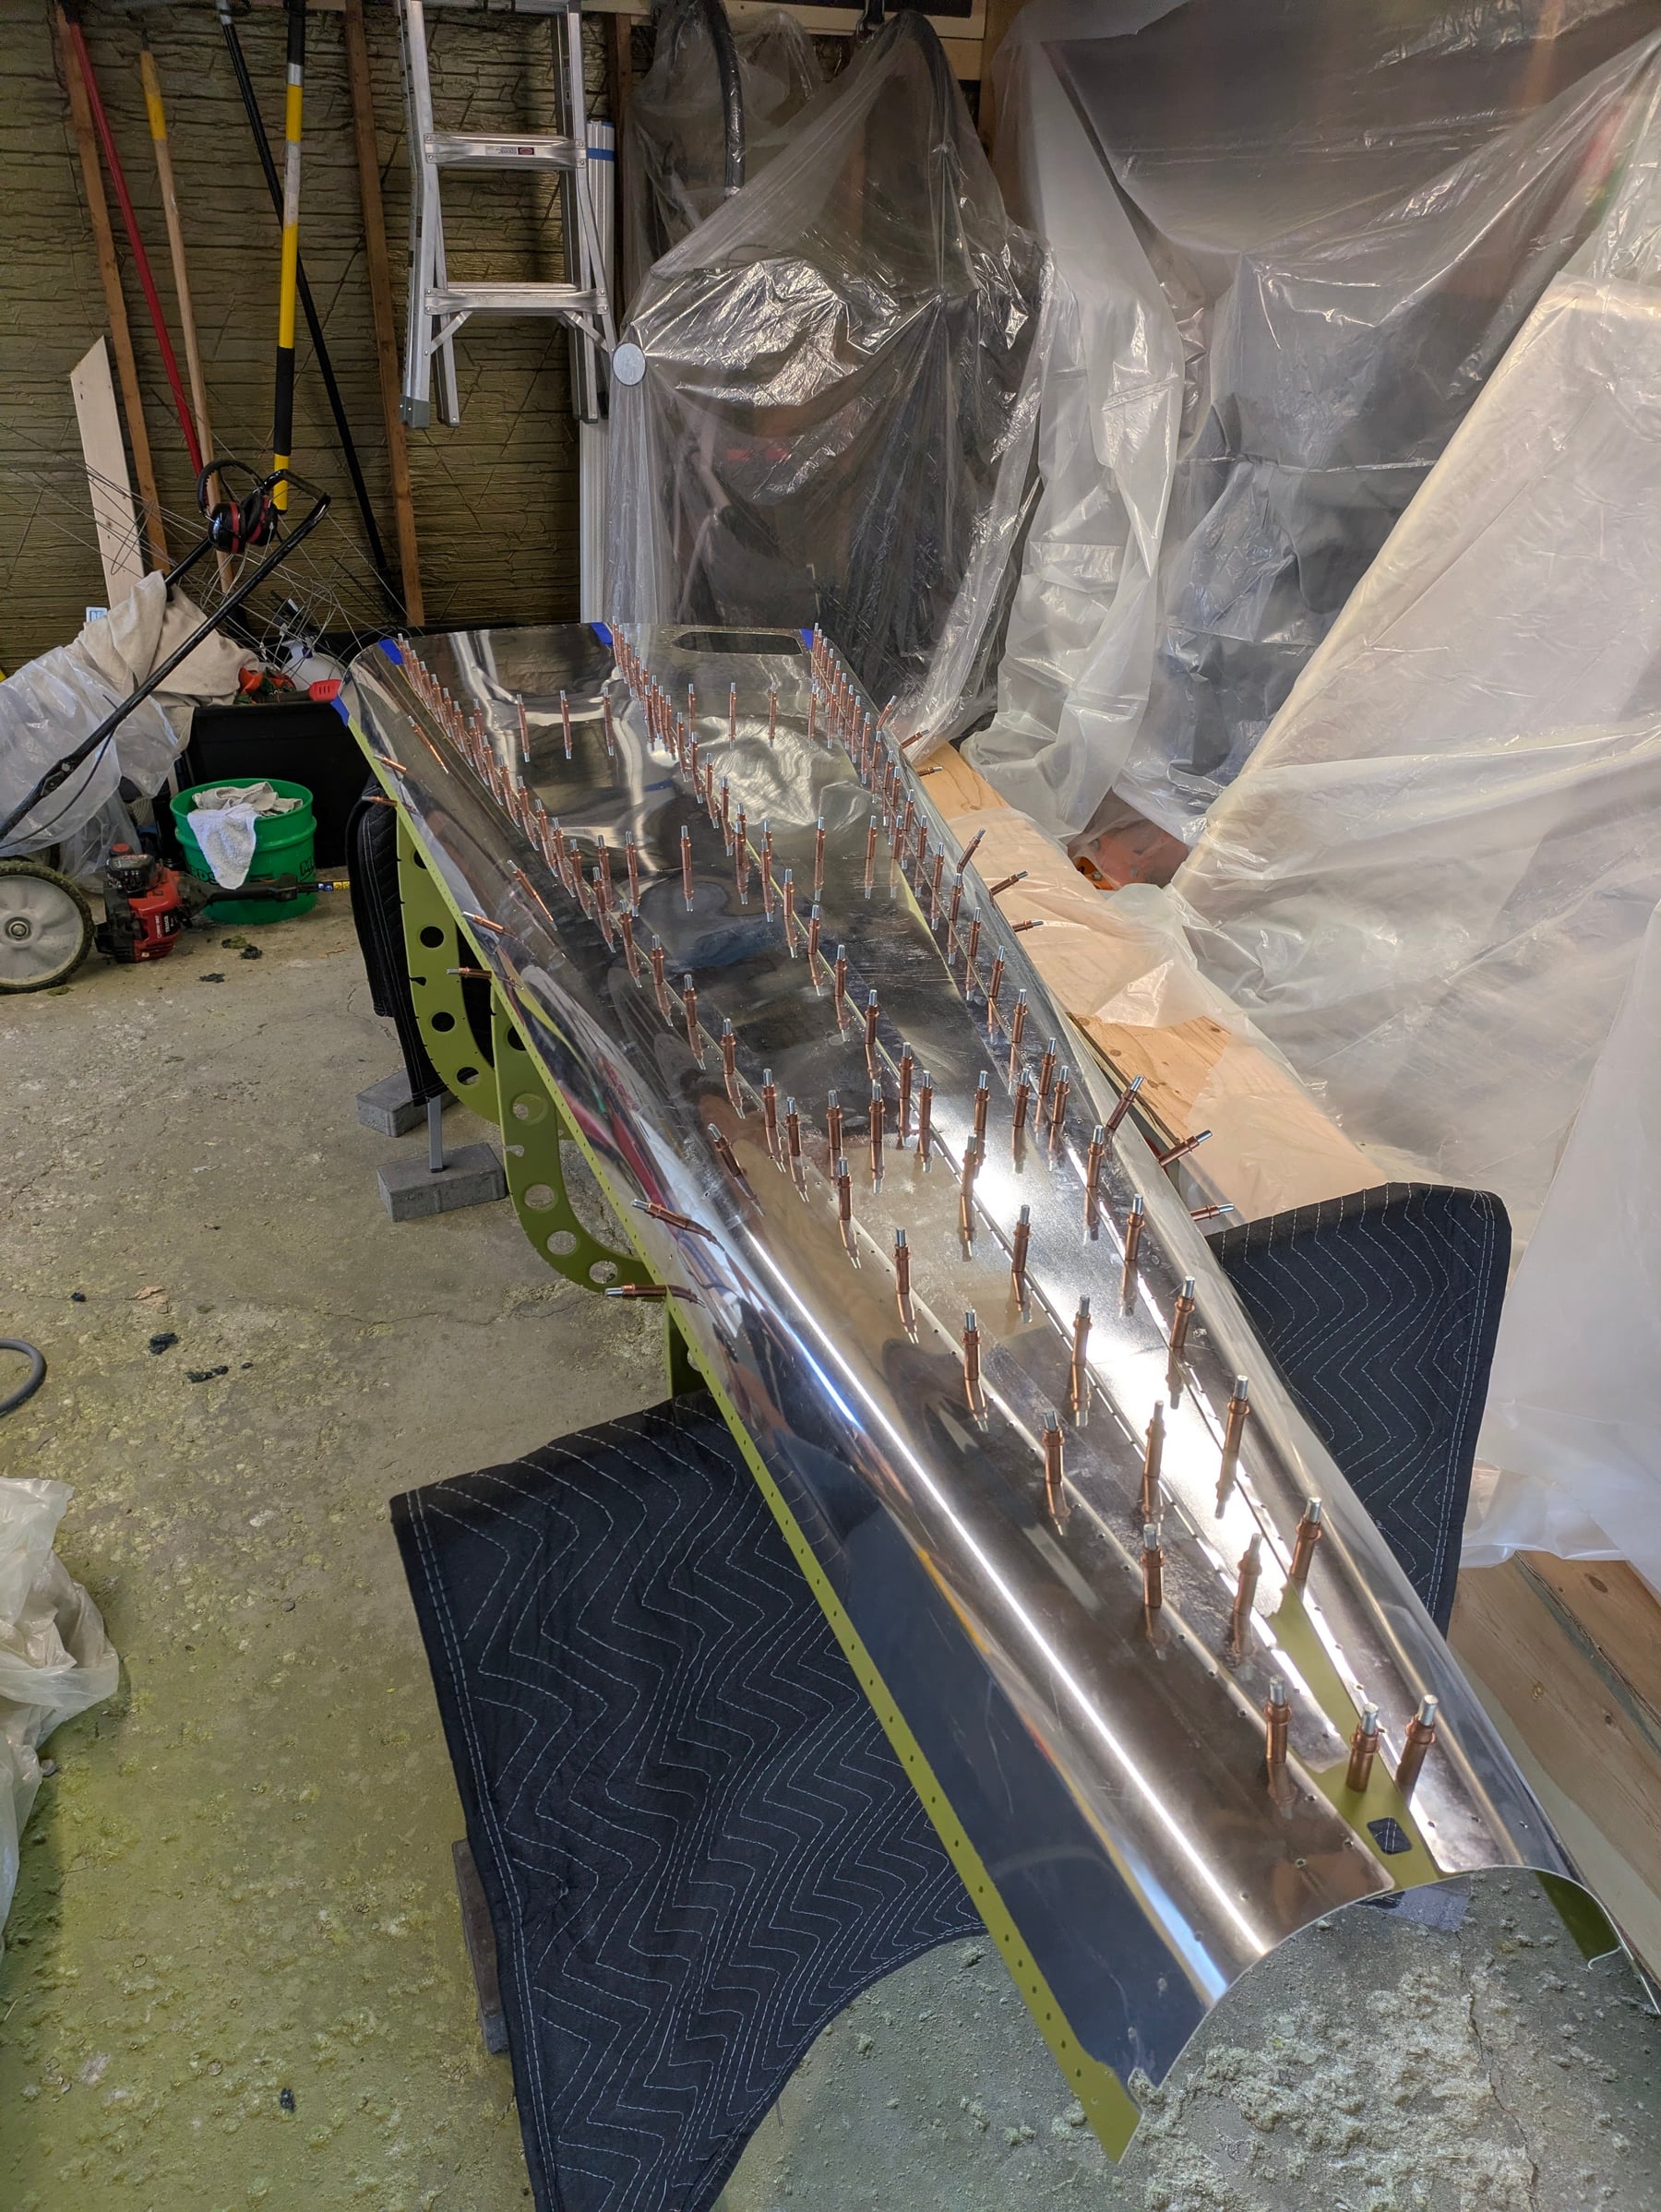
Clecos for the bottom of the tailcone.

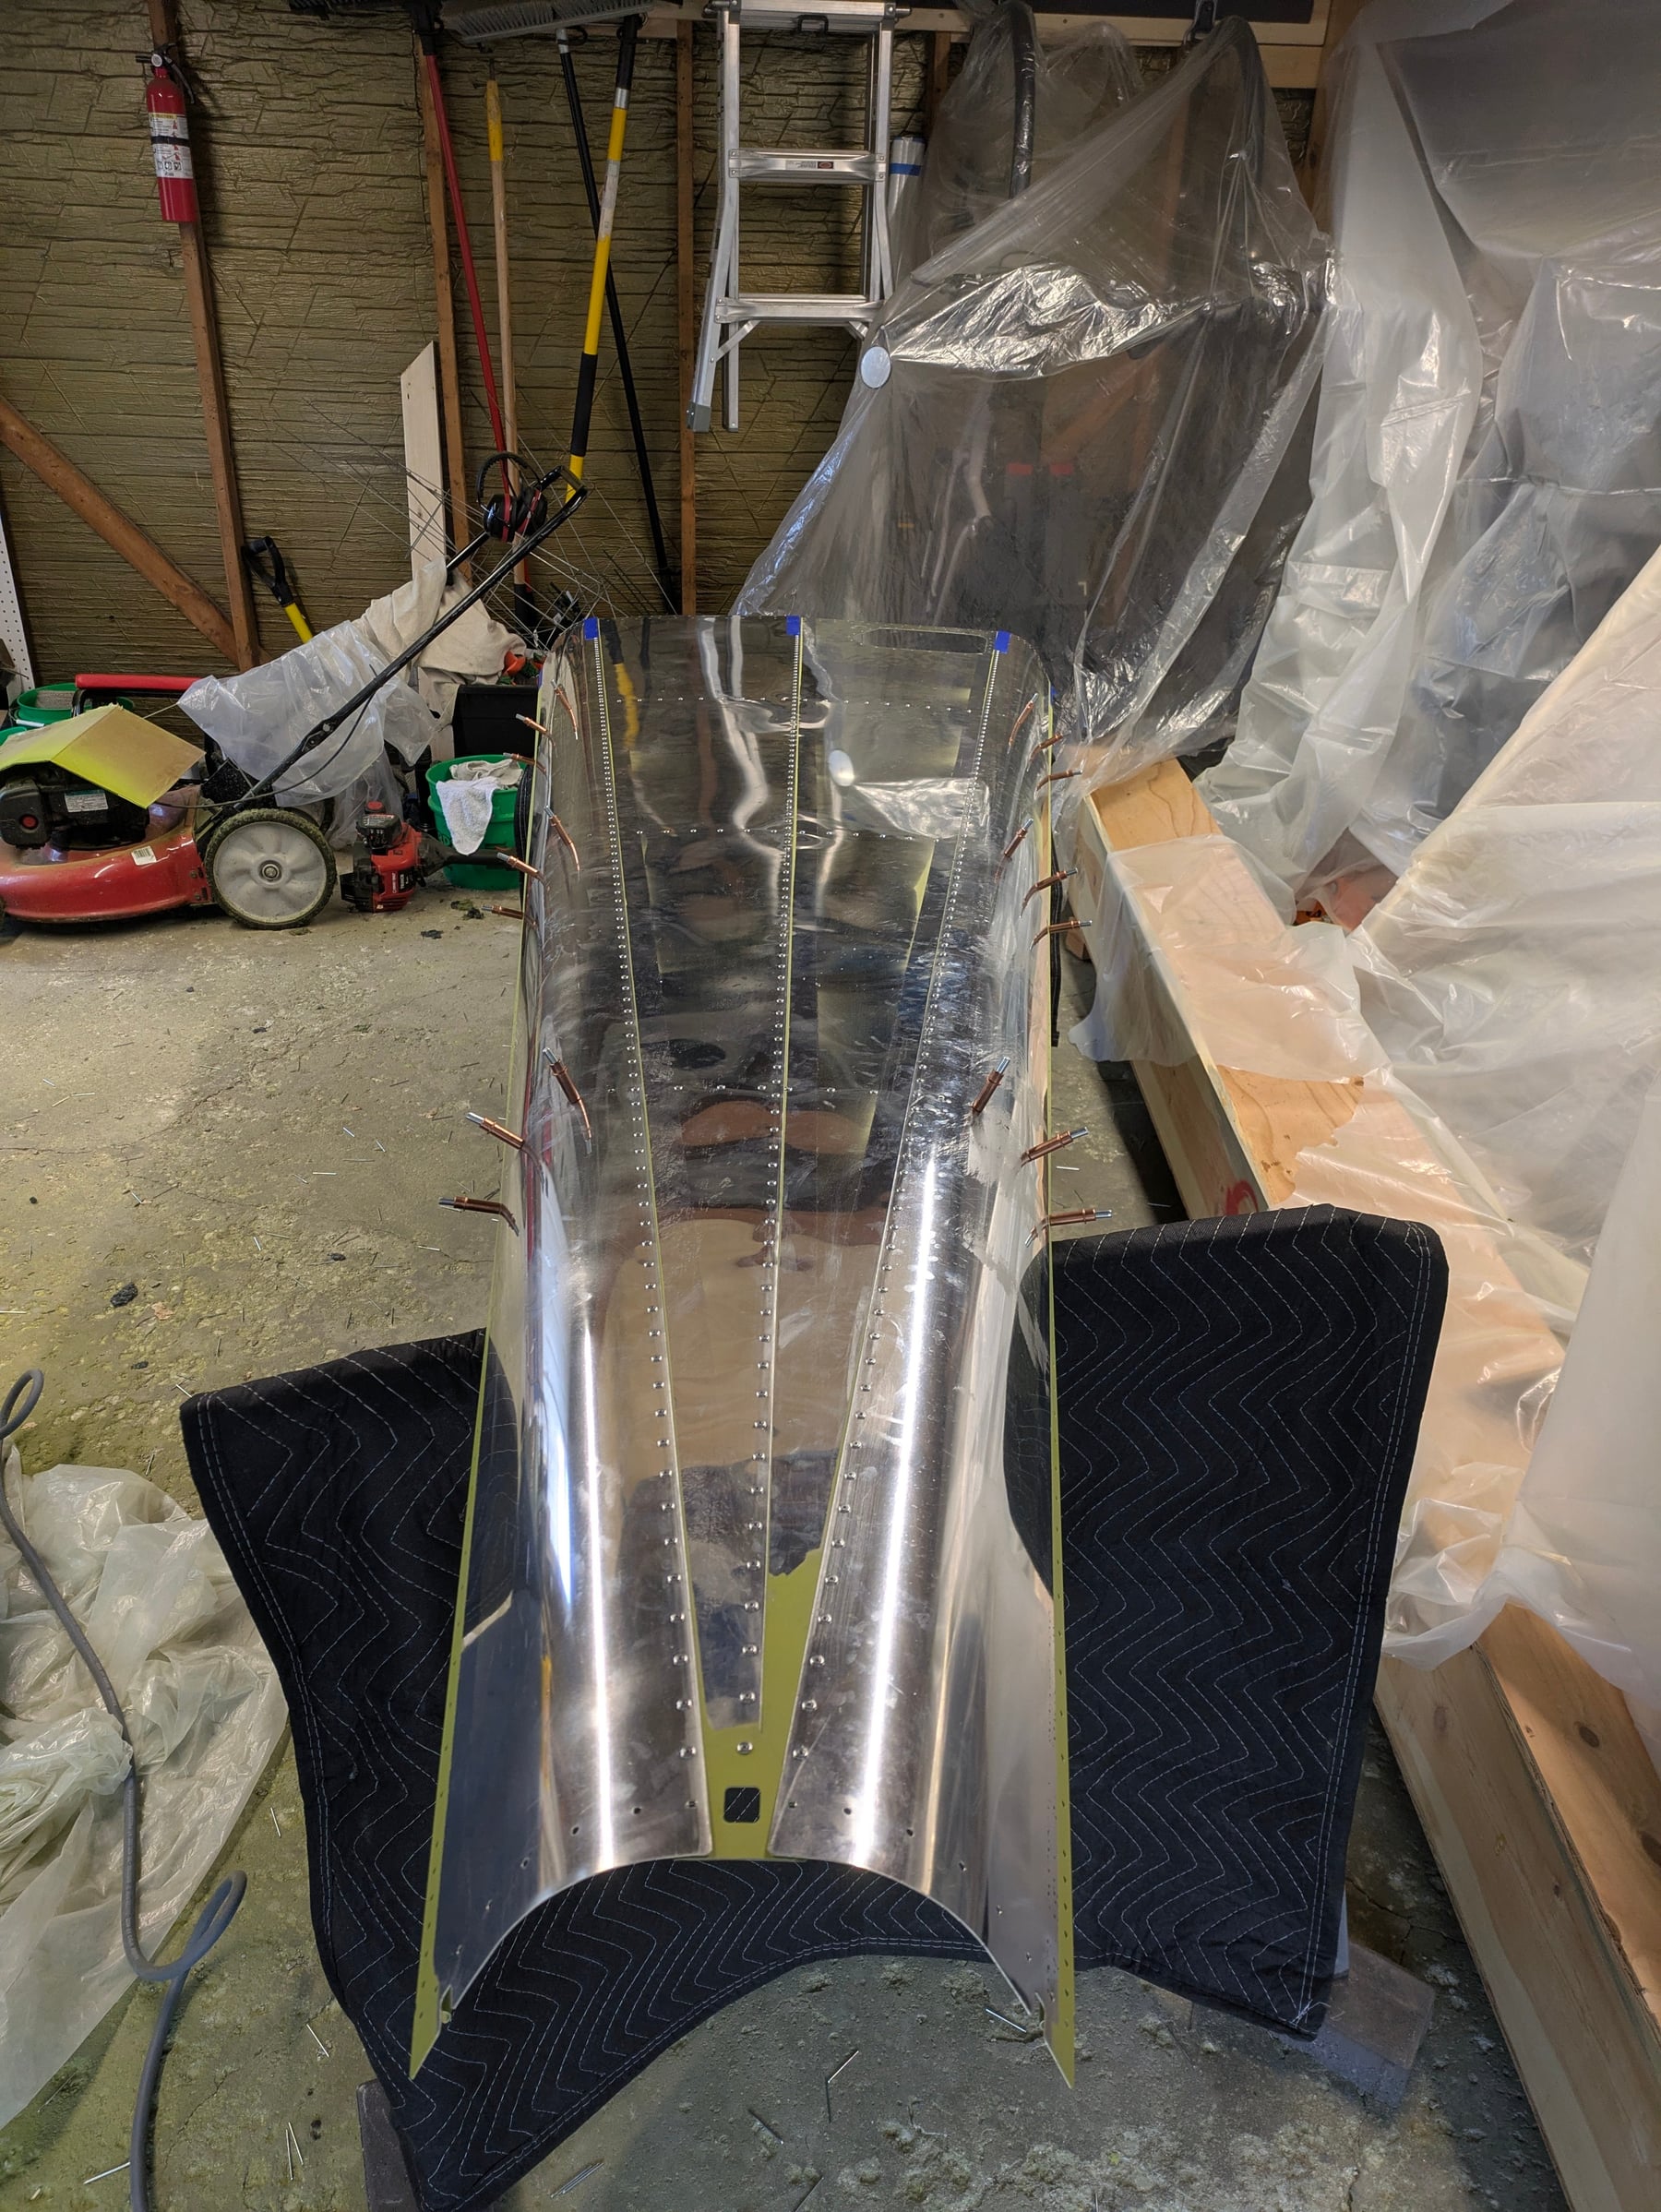
The bottom of the tailcone riveted.

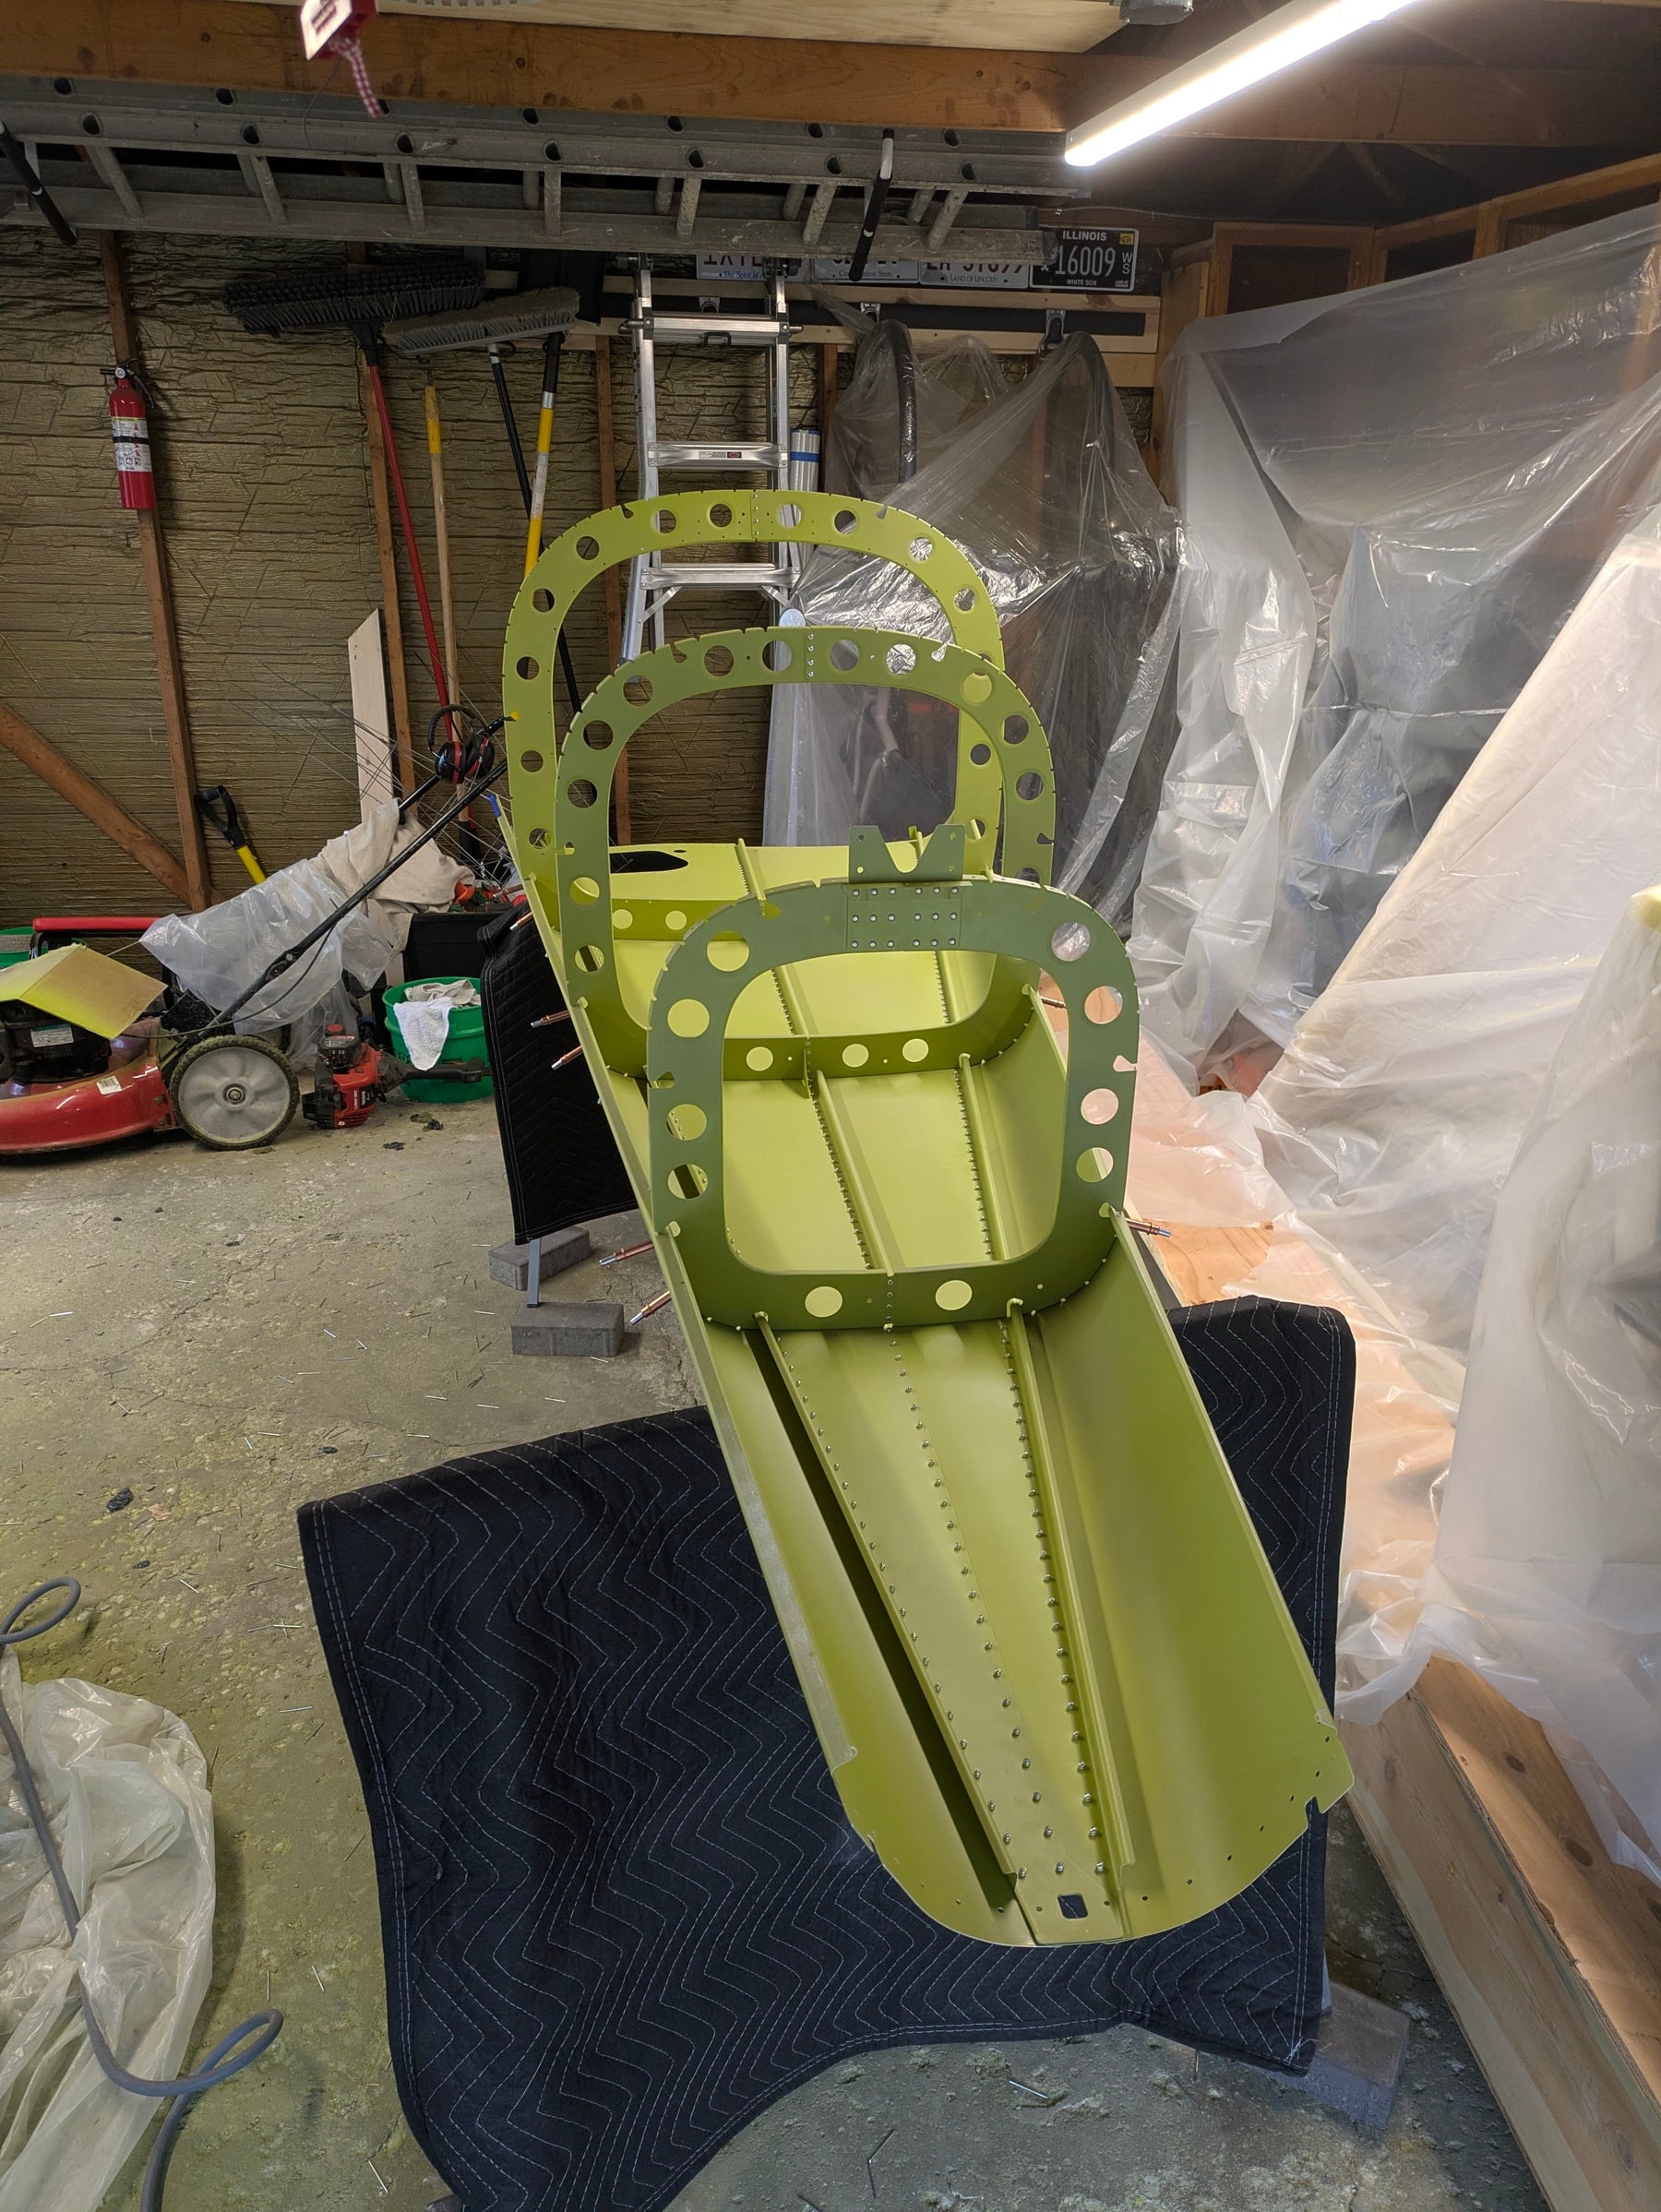
Hopefully the last time the tailcone will ever be upside down.

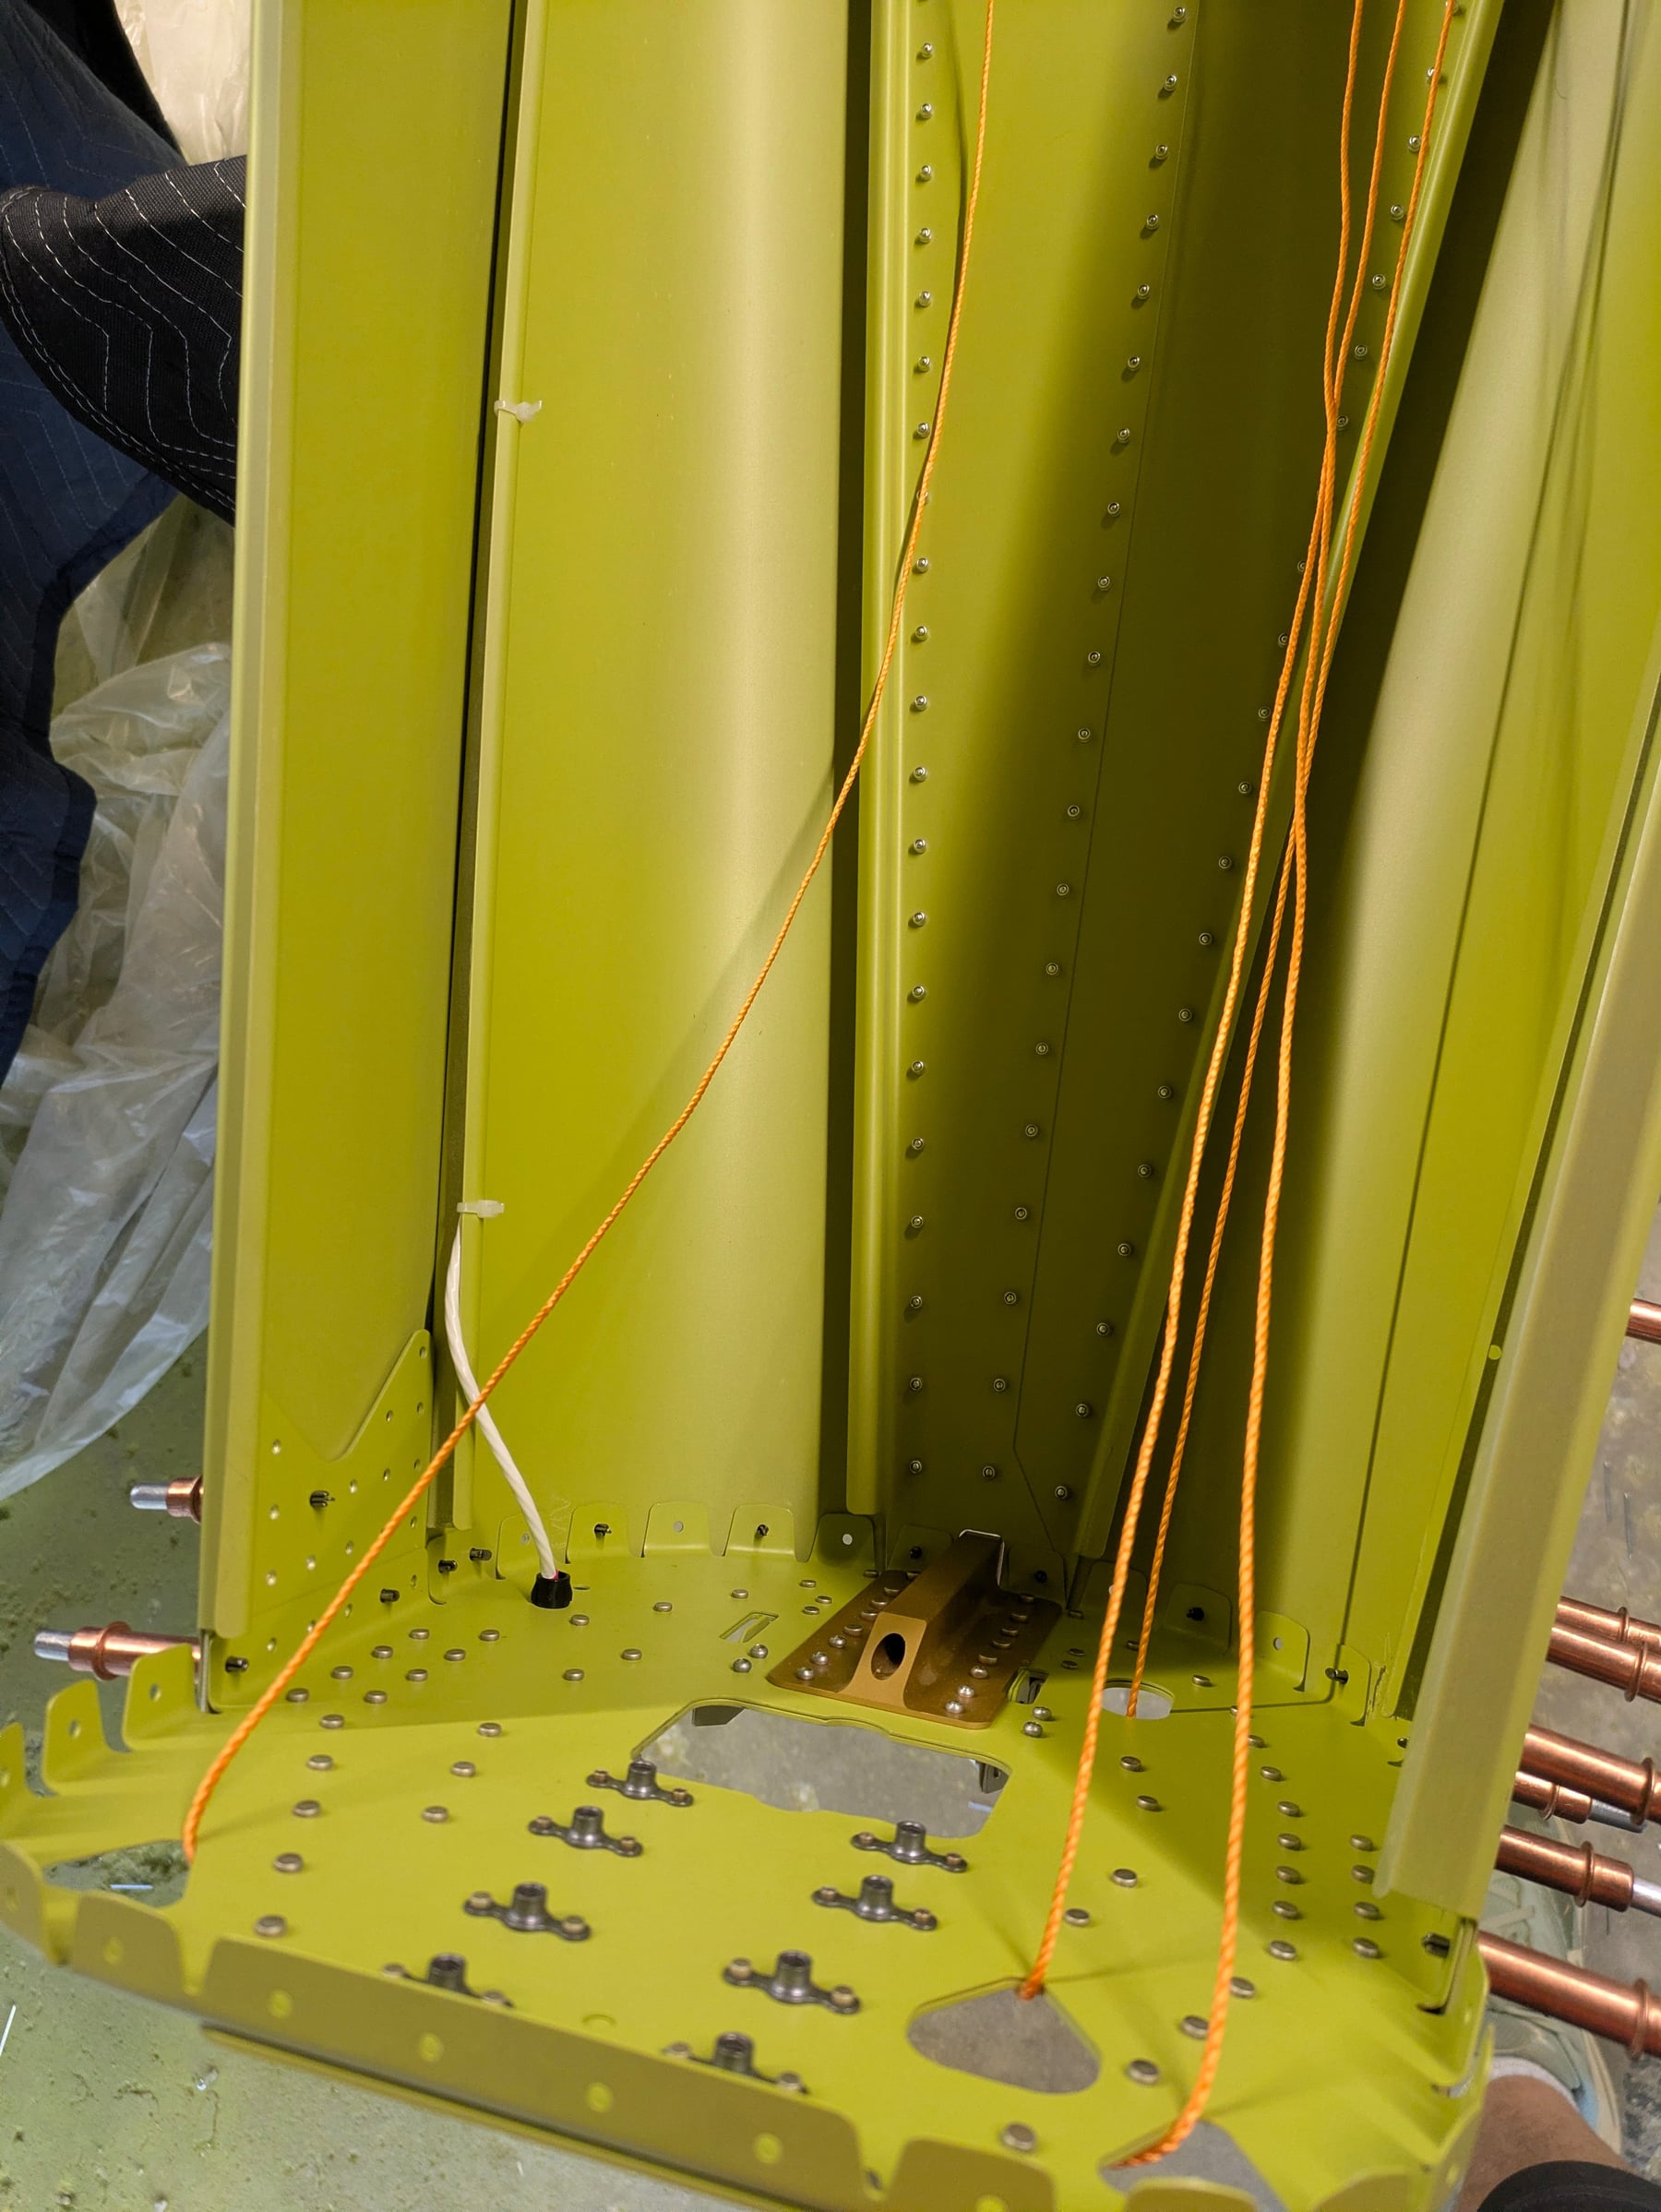
The trim wires run.
The trim wires run.

Where we stopped for the weekend.

by shared tag

↑ back to the build log